Guides
- RubyGems Basics
- What is a gem?
- Make your own gem
- Gems with Extensions
- Name your gem
- Publishing your gem
- Security Practices
- Managing owners using UI
- Removing a Published gem
- SSL Certificate Update
- Patterns
- Specification Reference
- Command Reference
- RubyGems.org API
- RubyGems.org API V2.0
- RubyGems.org Compact Index API
- RubyGems.org rate limits
- API key scopes
- Run your own gem server
- Setting up multi-factor authentication
- Using multi-factor authentication in command line
- MFA requirement opt in
- Using S3 as gem source
- Default gems and bundled gems
- Resources
- Contributing to RubyGems
- Frequently Asked Questions
- Plugins
- Common Vulnerabilities and Exposures
- Trusted Publishing
- Organizations
- Credits
Bundler
- Bundler in gems
- Gemfiles
- Getting Started
- How to Upgrade to Bundler 2
- How to deploy bundled applications
- How to install gems from git repositories
- How to manage application dependencies with Bundler
- How to manage groups of gems
- How to manage dependencies with Bundler
- How to troubleshoot RubyGems and Bundler TLS/SSL Issues
- How to update gems with Bundler
- How to use Bundler in a single-file Ruby script
- How to use Bundler with Docker
- How to use Bundler with Rails
- How to use Bundler with Ruby
- How to use Bundler with RubyMotion
- How to use Bundler with Sinatra
- How to use git bisect with Bundler
- How to write a Bundler plugin
- Known Plugins
- Recommended Workflow with Version Control
- Ruby Directive
Setting up WebAuthn / Passkey multi-factor authentication
Setting up WebAuthn multi-factor authentication
Using WebAuthn for multi-factor authentication (MFA) is the best way to protect your account from takeover. It’s stronger and easier to use than OTP codes.
Prerequisite
To use WebAuthn, you will need at least one of the following:
- A hardware security token (sometimes called a security key), such as a YubiKey or Google Titan Key.
- A built-in hardware device, such as TouchID, FaceID or Windows Hello.
- A browser that supports the “Passkey” standard. Up-to-date versions of Chrome, Safari, Firefox and Edge all support this standard.
Unfortunately implementations of these experiences vary, so we can’t show the exact details, but we will point out the steps that are specific to using RubyGems.org.
Enabling WebAuthn multi-factor authentication
- Login to rubygems.org using your existing account and go to the edit settings page.
- In the “Multi-factor Authentication” section you will see two options:
“Authentication App” and “Security Device”. Under “Security Device” you
will see a field for “Nickname”.
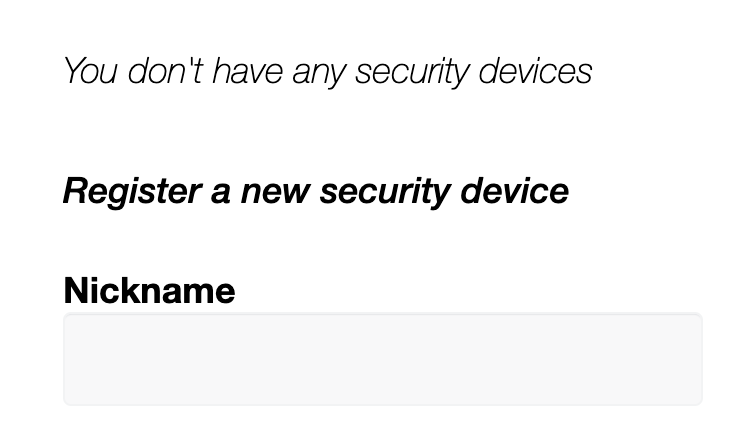
- Choose a name for your device. Use something that helps you remember which device you used. For example, you might use nicknames like “Mary’s YubiKey” or “Naveen’s iPhone”.
- Below the Nickname field, click Register device.
- Your browser will prompt you to set up a device or a Passkey. This experience varies according to browser. Chrome tries to set up a Passkey that it manages, though you can select “Try another way” to use a USB hardware token. Safari asks you to enable iCloud Keychain, but you can click “Other Options” to use a hardware token. Other browsers may vary.
- You will now see your security device on the screen above the Nickname field.