Getting Started
Guides
Dependency Management
- How to manage application dependencies with Bundler
- How to manage dependencies with Bundler
- How to update gems with Bundler
- How to manage groups of gems
- How to install gems from git repositories
- How to develop multiple gems in one repository
- How to use Bundler with Ruby
- How to use Bundler in a single-file Ruby script
- How to deploy bundled applications
Gem Development
Publishing & Security
- Trusted Publishing
- Setting up multi-factor authentication
- Using multi-factor authentication in command line
- Managing owners using UI
- Organizations
- Removing a Published gem
- Security Practices
- How to delay new gem versions with cooldown
Integrations
- How to use Bundler with Rails
- How to use Bundler with Sinatra
- How to use Bundler with Docker
- How to use Bundler in CI
Hosting & Sources
Extending
Troubleshooting
- Troubleshooting common issues
- How to troubleshoot RubyGems and Bundler TLS/SSL Issues
- How to use git bisect with Bundler
Concepts
- What is a gem?
- Gemfile and gemspec
- Where gems are installed and how they load
- How dependency resolution works
- How Gemfile.lock works
- Versioning and compatibility
- Platforms and native gems
- Caching and vendoring
- Default gems and bundled gems
- Common Vulnerabilities and Exposures
Reference
- gem Command Reference
- Bundler Command Reference
- Gemfile Reference
- Ruby Directive
- Specification Reference
- RubyGems.org API
- RubyGems.org Compact Index API
- RubyGems.org rate limits
- API key scopes
- Bundler compatibility with Ruby
- Configuration (.gemrc)
- Environment variables
- Known Bundler Plugins
Appendix
Setting up multi-factor authentication
Want to better protect your RubyGems.org account?
Your RubyGems.org account is important! Unauthorized access of your account
can lead to irrevocable damage to your gem’s reputation. We highly recommend
that you enable MFA for both UI and API. When enabled, this will mean that
you need to use MFA for signing into RubyGems.org and when running gem signin,
push, owner --add, owner --remove and yank.
You may enable MFA using WebAuthn or by using one-time passwords (OTP). Both are set up in the “Multi-factor Authentication” section of the edit settings page, so sign in to your account and open that page before following either set of steps below.
Setting up WebAuthn (recommended)
Using WebAuthn for multi-factor authentication is the best way to protect your account from takeover. It’s stronger and easier to use than OTP codes.
You will need at least one of the following:
- A hardware security token (sometimes called a security key), such as a YubiKey or Google Titan Key.
- A built-in hardware device, such as TouchID, FaceID or Windows Hello.
- A browser that supports the “Passkey” standard. Up-to-date versions of Chrome, Safari, Firefox and Edge all support this standard.
Unfortunately implementations of these experiences vary, so we can’t show the exact details, but we will point out the steps that are specific to using RubyGems.org.
- In the “Multi-factor Authentication” section you will see two options:
“Authentication App” and “Security Device”. Under “Security Device” you
will see a field for “Nickname”.
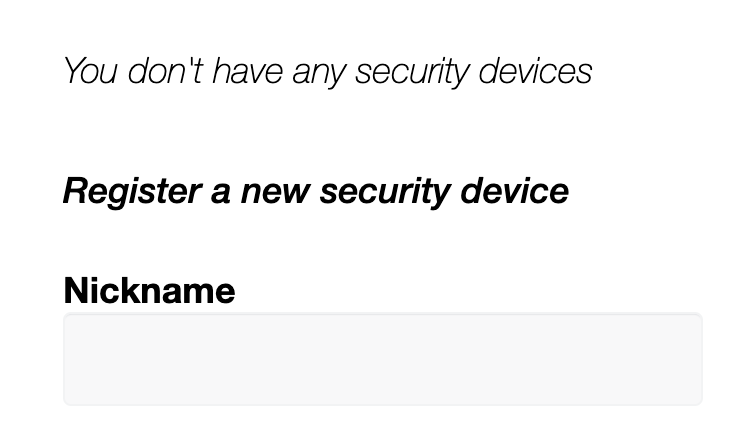
- Choose a name for your device. Use something that helps you remember which device you used. For example, you might use nicknames like “Mary’s YubiKey” or “Naveen’s iPhone”.
- Below the Nickname field, click Register device.
- Your browser will prompt you to set up a device or a Passkey. This experience varies according to browser. Chrome tries to set up a Passkey that it manages, though you can select “Try another way” to use a USB hardware token. Safari asks you to enable iCloud Keychain, but you can click “Other Options” to use a hardware token. Other browsers may vary.
- You will now see your security device on the screen above the Nickname field.
Setting up OTP
You should have an authenticator app (like Google Authenticator, Authy, or Authenticator Plus) which supports time-based one-time password (TOTP) to scan the QR code and generate an access code. SMS-based authentication or recovery is not supported.
The Google Authenticator app only allows an MFA account to be installed on one device and there is no backup or cloud sync of the data. So if you lose or upgrade your phone, you’ll have to set up MFA again on the new phone. On the other hand, the Authy and Authenticator Plus apps allow you to use multiple devices by providing cloud backups and cross-device sync capabilities.
- Click register a new device in the “Multi-factor Authentication” section.
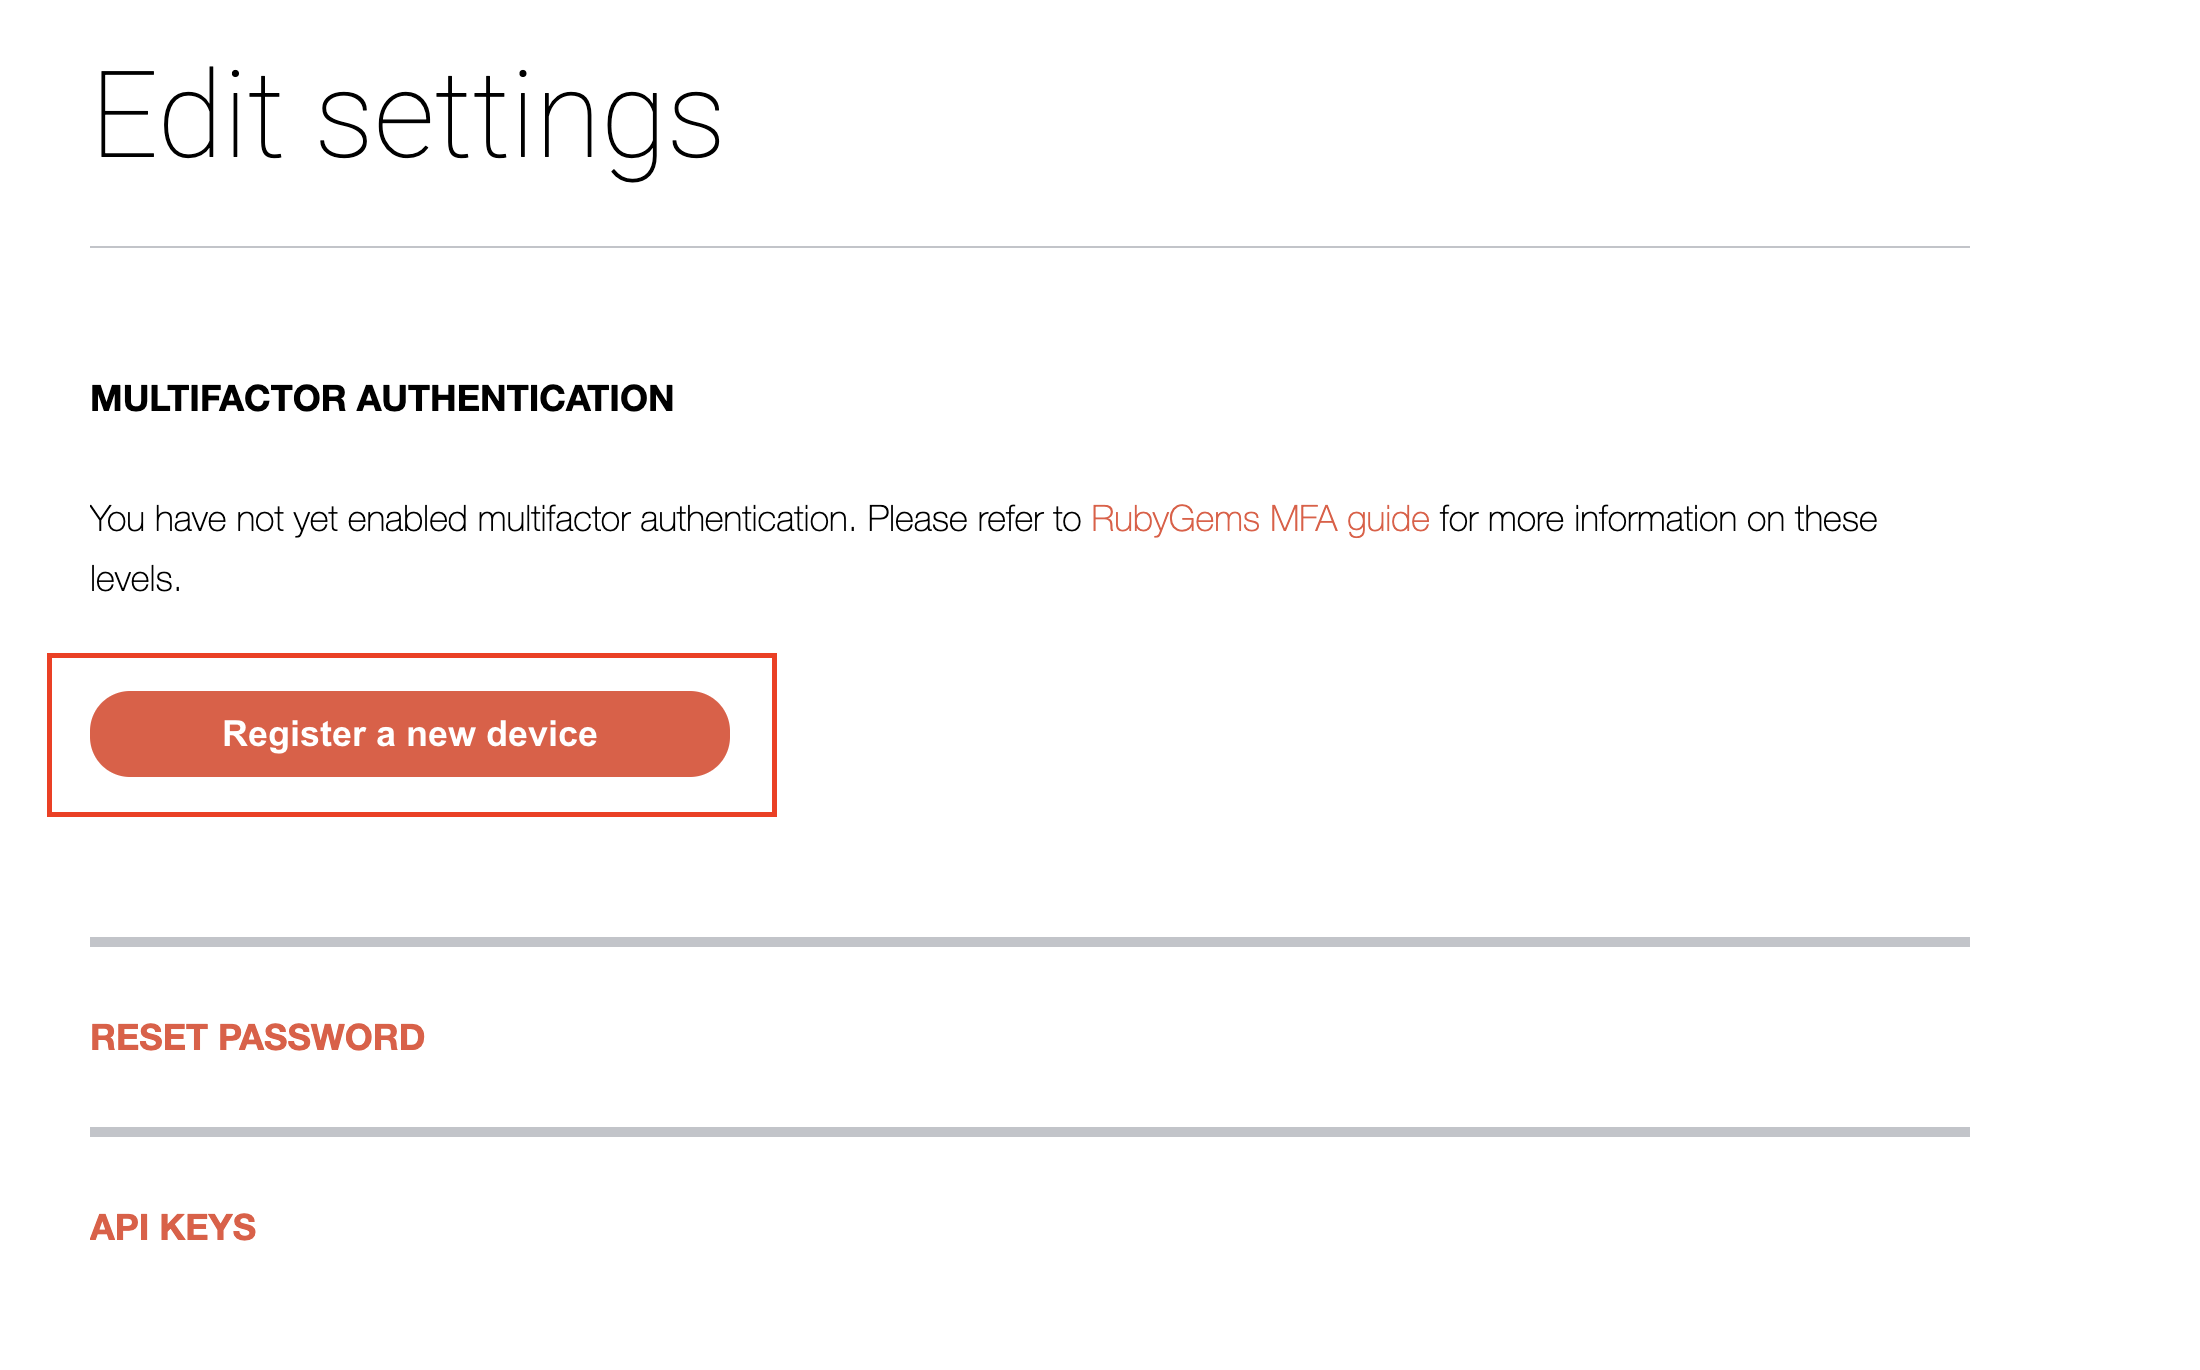
- You will be redirected to a page with a QR code and a text box for verifying OTP code. Please use your authenticator to scan the QR code. A new account for rubygems.org will be added to your authenticator app as soon as the scan completes. You can also add a new account manually using “Account” and “Key” shown next to the QR code. Please make sure you choose the option “time based” as MFA type. On successful registration, you will see a 6-digit access code (30 seconds expiry) in your authenticator app for your rubygems.org account. Enter the shown access code in the “OTP Code” text field and click Enable.
- If the code is correct and the QR code has not expired, on next page you will see a list of recovery codes. Please copy and store these codes in a safe place, and see Using recovery codes for what they are for.
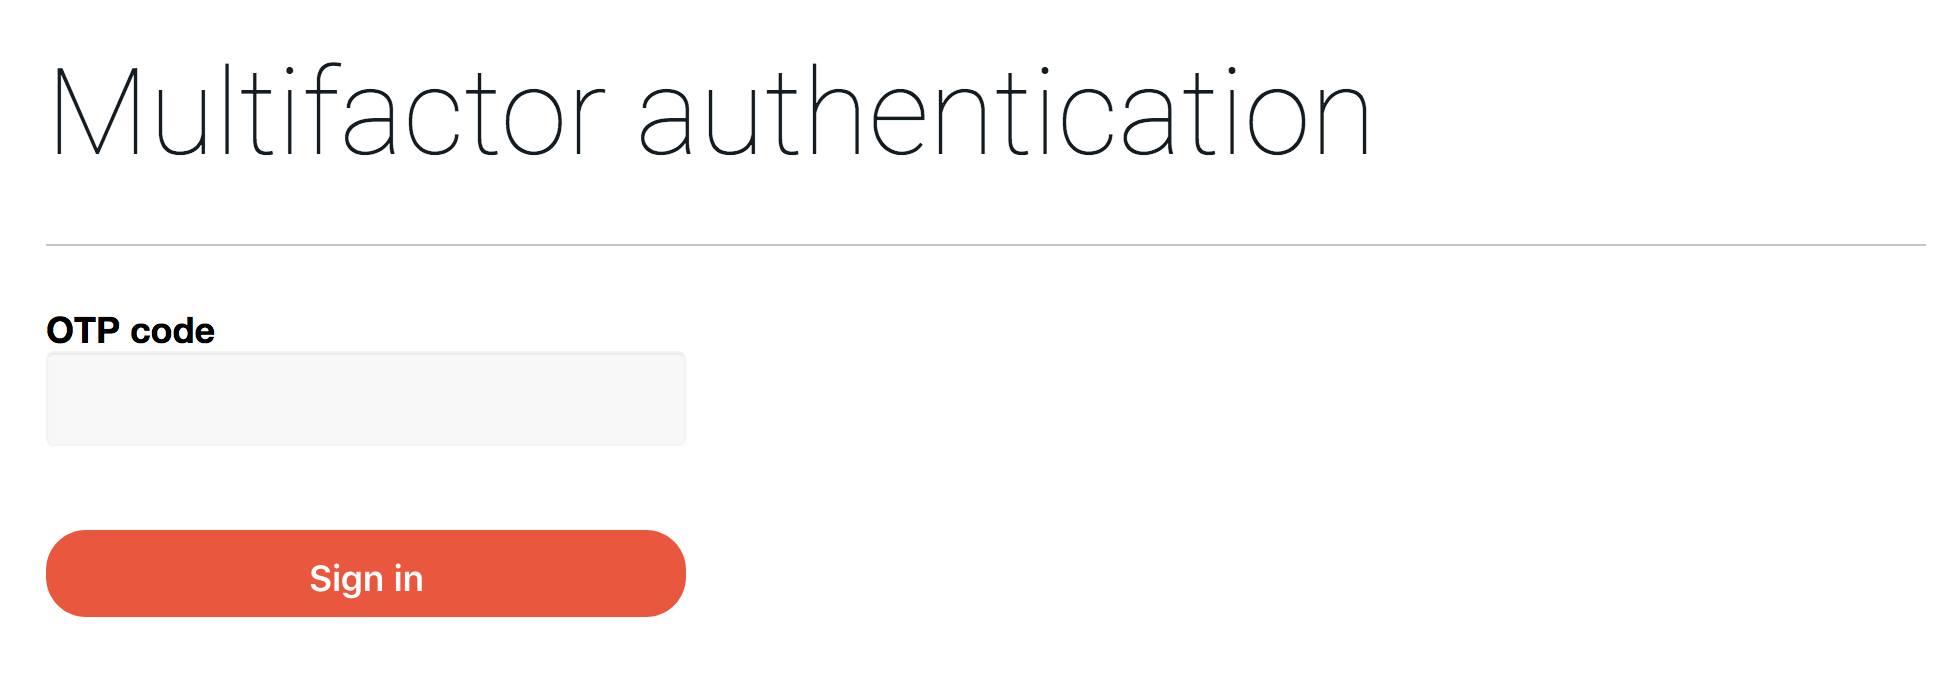
- Sign out and sign in again. Signing in will now ask for an OTP code.
Authentication levels
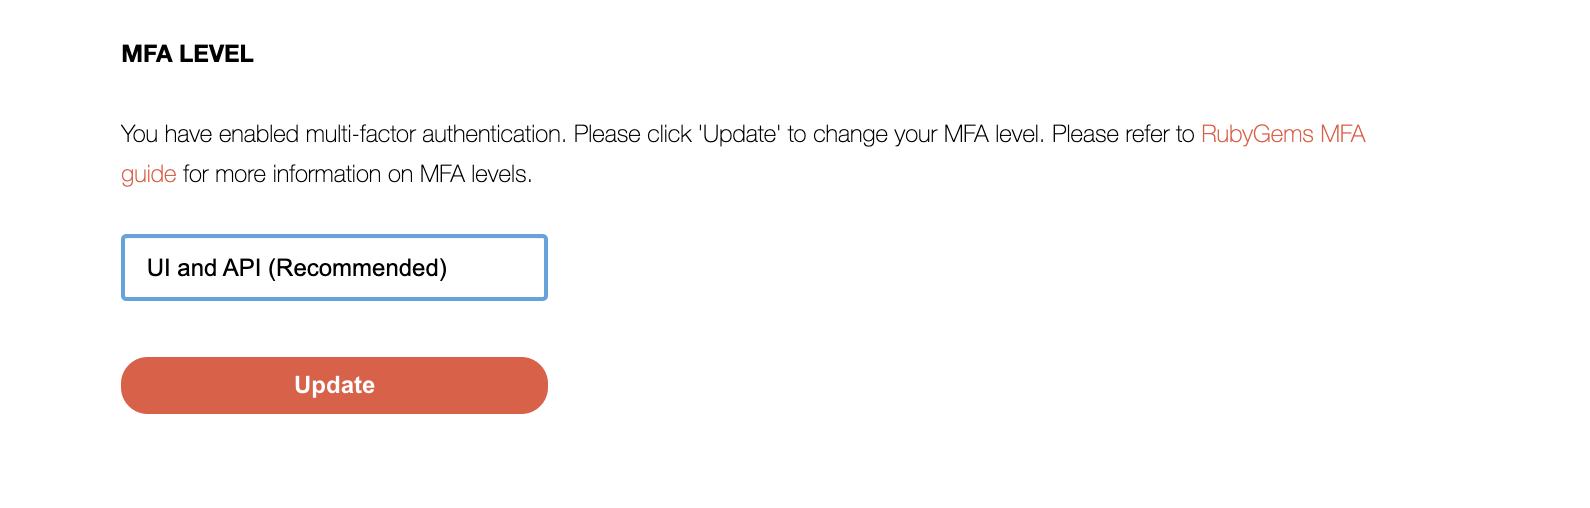
When you register a new device or enable MFA for the first time, we will enable MFA for both the UI and the API. If you go to the edit settings page again, in the “Multi-factor Authentication” section, you will see a dropdown menu with these options:
- UI and API (Recommended): UI operations,
gem signin,push,owner --addandowner --removewill require OTP code. - UI and gem signin: UI operations and
gem signinwill require OTP code.
UI only was previously a valid MFA level. However, it has been removed, and only accounts that are currently at that level will still see it in the dropdown.
Note: If you are on the UI and gem signin authentication level, you can selectively enable MFA on specific API keys (see API key scopes). This is different from the UI and API level as MFA is enabled on all API keys by default and cannot be selectively enabled.
Steps to change your MFA level:
- In the “Multi-factor Authentication” section, select your intended option from the dropdown menu, and click Update.
- You will be asked to authorize the change on the same screen you see when signing in. Enter a code from your MFA device.
Using recovery codes
Recovery codes are shown once, when you enable MFA. They let you get back into your account when you no longer have access to your MFA device.
Each recovery code can only be used once and you may need up to 2 recovery codes to re-setup a previously enabled MFA RubyGems.org account on a new device.
- To login into your account, enter an unused recovery code as the OTP code when prompted.
- To reconfigure an authenticator app, you’ll need to use a recovery code to remove the current authenticator app. Then, you are able to enable and configure your authenticator app again. For security devices, you are able to associate a new security device to your account in the security devices section.
Requiring MFA for your gems
You can make your gems more secure by requiring all owners to enable MFA on their
account. Opt in a gem you are managing by releasing a version that has
metadata.rubygems_mfa_required set to true.
% cat hola.gemspec
Gem::Specification.new do |s|
...
s.metadata       = { "rubygems_mfa_required" => "true" }
...
end
The version being released with rubygems_mfa_required set and all the following versions
will require you to have MFA enabled.
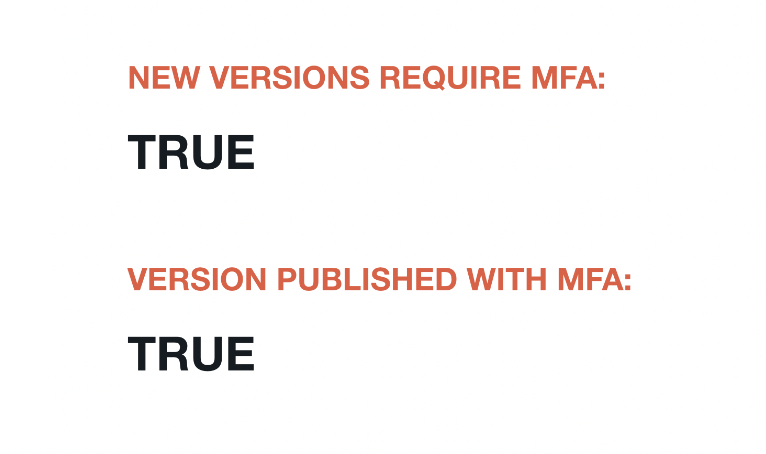
Once enabled, the gem page will show NEW VERSIONS REQUIRE MFA in the sidebar, and all versions published with rubygems_mfa_required set will also show VERSION PUBLISHED WITH MFA:
You will see the following error message if you have not enabled MFA and you are trying to release a new version for a gem that requires MFA:
$ gem push hola-1.0.0.gem
Pushing gem to https://rubygems.org...
Rubygem requires owners to enable MFA. You must enable MFA before pushing new version.
Disabling the requirement
You can disable the MFA requirement by setting rubygems_mfa_required to "false" or any ActiveRecord::Type::Boolean::FALSE_VALUES.
Note: We will enforce the MFA requirement on the version being published. MFA requirement will be disabled after you have successfully published a gem with rubygems_mfa_required set to false.
Using MFA from the command line
Once MFA is enabled, gem commands such as signin, push and yank will
prompt you for it. See Using multi-factor authentication in command line
for how each authentication method behaves.